Miss Jet back with another DIY post. (Gimme a sec while I pick the paint out from under my fingernails)
This past weekend, I tackled my table numbers.
Let's check out my inspiration first:
This past weekend, I tackled my table numbers.
Let's check out my inspiration first:

Rustic burlap wine bags with stamped numbers, crazy perfect! / Image via Project Wedding
Since we are not offering any type of open bar, Mr. Jet's parents still wanted to make sure we were serving our guests with some type of alcohol with their dinner, as it is customary (if not mandatory) given their Portuguese heritage.
We all agreed upon offering two complimentary bottles of wine per table - one white and one red - in addition to the cash bar that our venue will provide. At first, I was going to pre-buy the wine from the venue, soak off all the labels and do custom labels with my sister, but the more I thought about it, the more daunting and annoying that sounded.
Enter the burlap wine bag!
This was a two-fold project: dress up the wine bottles to work with our theme, and act as our table numbers at the same time. Here's the recipe...
- First, I purchased the burlap wine bags from Paper Mart Online - they were the most economical option at $1.38 per piece. I purchased two per table, for a total of 40 bags.
- Next, I hit up my favorite crafty stop, Etsy (Seller "Cut It Out Stencils"), for the stencil numbers (TIP: I purchased the 5" stencil for my bags, anything smaller will not be as visible to your guests). You could also make the stencils yourself with some thick vellum or cardstock, but after playing the time v. money v. "is this worth it?" game, I decided it was better for all involved parties (e.g. myself and Mr. Jet) to just purchase them.
- Once I had all of my materials, including a foam brush and acrylic paint (TIP: Mr Jet sez,"Acrylics will work best for this project for a few reasons - they have no offensive odor, they dry much faster than water/oil-based paints, they will had a nice texture when sponged or brushed on!"), I laid everything out and finished within ONE EPISODE of Real Housewives of New Jersey! Seriously, I didn't even get to see the crazy fight break out at the end!

I slipped a piece of cardboard inside the bag to catch any bleeding paint and then taped on the first stencil at the top and bottom. This size stencil was actually perfect, as it was just as wide as the flat wine bag which allowed me to line it up easily. / Personal photo
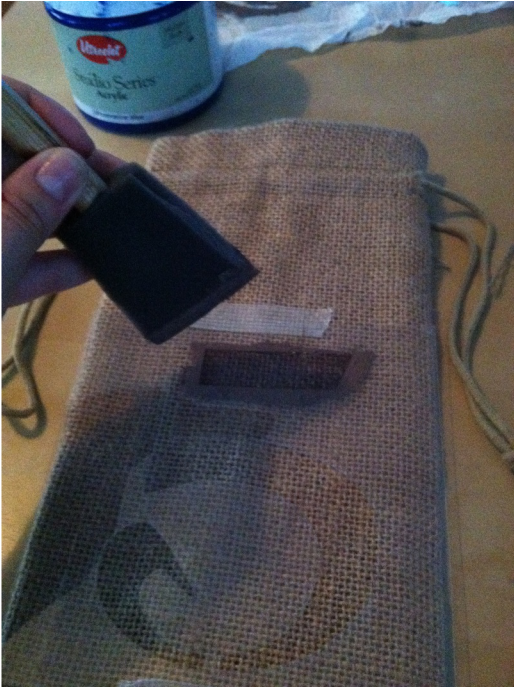
I made sure to use my free fingers to hold down the parts of the stencil around where I was sponging to ensure none of the paint seeped out. Using the sponge brush, I didn't stroke-paint, but dabbed quickly to fill the entire negative space of the stencil. This allowed for good control of where the paint went. / Personal photo
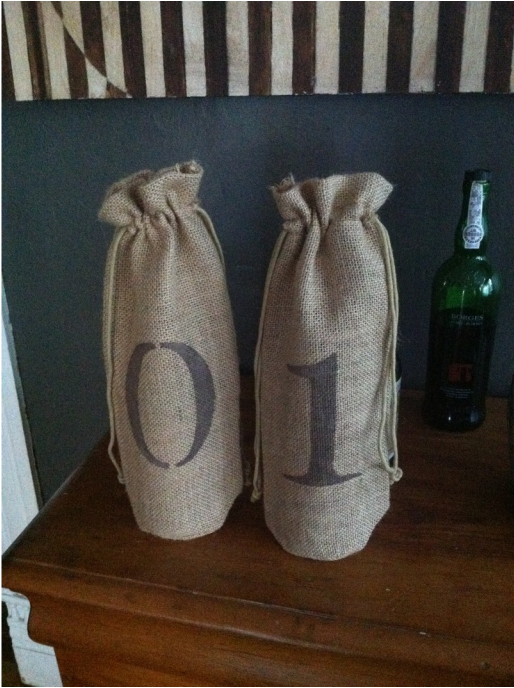
Your table is ready, Bee! I am going to add a ribbon or colored twine to the top to add some color to this project. / Personal photo
With just over three months to go, I'm so thrilled and relieved to have this project done - and in hardly any time at all!
What do your table numbers look like??
What do your table numbers look like??
 RSS Feed