A few people have inquired about the envelope liners I added to my Save the Dates, so I figured I'd dive in with my first DIY tutorial!
Envelope liners certainly add a lot of character and flair to an otherwise Plain Jane envelope, but boy can they be tricky if not done correctly! In my case, I sent out 92 Save the Dates which means cutting around 100 envelope liners. I deemed this project totally worth it, as my kraft-colored envelopes were seriously lacking in the style department.
First, I had to figure out what kind of paper I wanted to use. While thicker, richer paper would give the STDs a truly luxe look, the idea of adding weight (and therefore postage) to the piece did not appeal to me. In addition, I avoided thicker paper to be able to eliminate the step of scoring the paper - my bone folder and I don't always get along. I also ixnay-ed metallic paper, as it may crack at the seam and look messy once opened. Once I was able to gather my criteria, I decided that wrapping paper would be the perfect paper. It was cheap, available in endless colors and patterns, and readily available at almost every store. (TIP: Try to get a paper that has the cutting grid on the back of the paper, it will help you to line up the template and count out your liners a lot easier. This also helps if you are using a geometric pattern that you need to cut at a perfect right angle!)
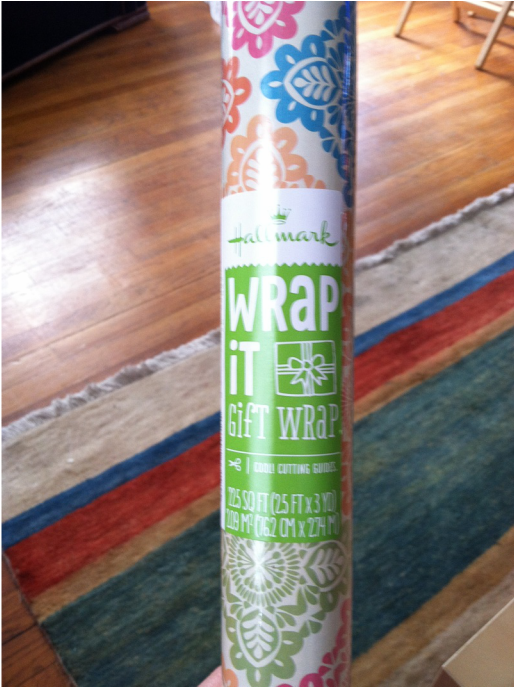
This 22.5 sf roll gave me at least 100 liners to fit an A2 sized envelope. / Personal photo
Next, I pulled out my trusty A2 Paper Source envelope liner template. (TIP: If you don't have one of these, or are using an odd-sized envelope, you can easily make your own template with a thick/durable piece of paper/plastic/cardstock. Just measure the height and width of your closed envelope, then lift the flap and trace the shape of the flap onto the template material and add in the measurement you just took. Don't forget to leave room for the envelope's adhesive strip!)
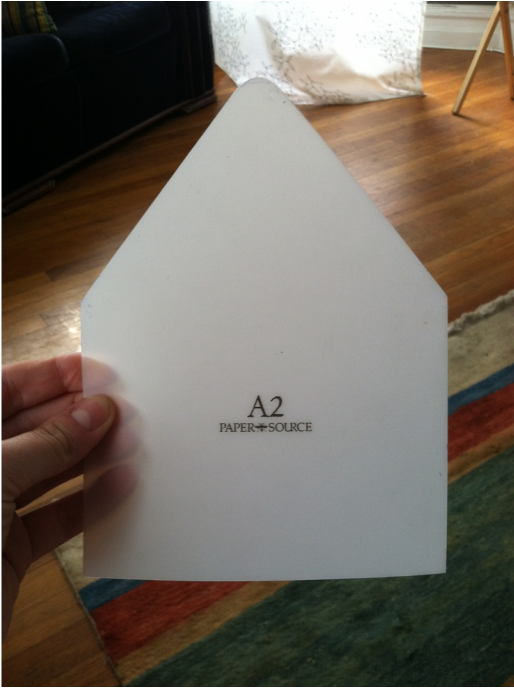
These templates are a good investment, as they are endlessly reusable! They come in a large pack with all of Paper Sources envelope sizes. / Personal photo
In order to save some paper, I marked off the template about 1/2" below the visible opening of the envelope, and decided to cut each liner so that it would sit just under the visible portion, not go all the way down to the end of the envelope. If you're making your own template, you can do this too.
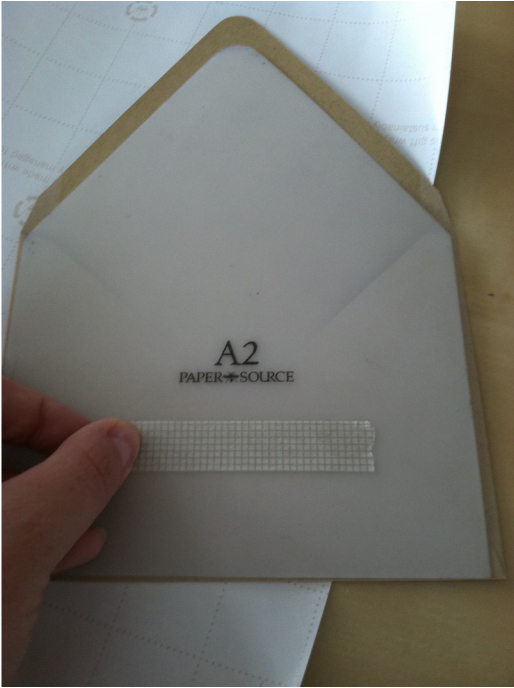
I used washi tape to mark off where I wanted the bottom of the liner to hit. Since you can kind of see through the template, I was able to eyeball about a 1/2" below the visible portion of the envelope. / Personal photo
Next, I rolled out my wrapping paper and started cutting my liners using the grid lines and my template.
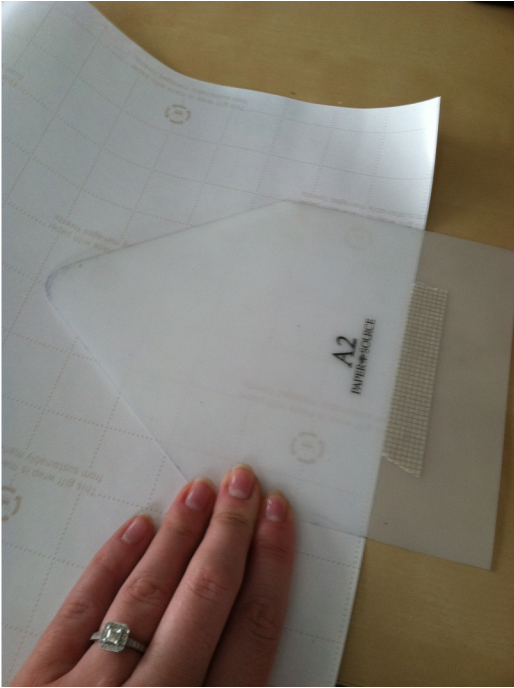
I traced around the template and was able to fit over 100 liners onto one roll of wrapping paper. / Personal photo
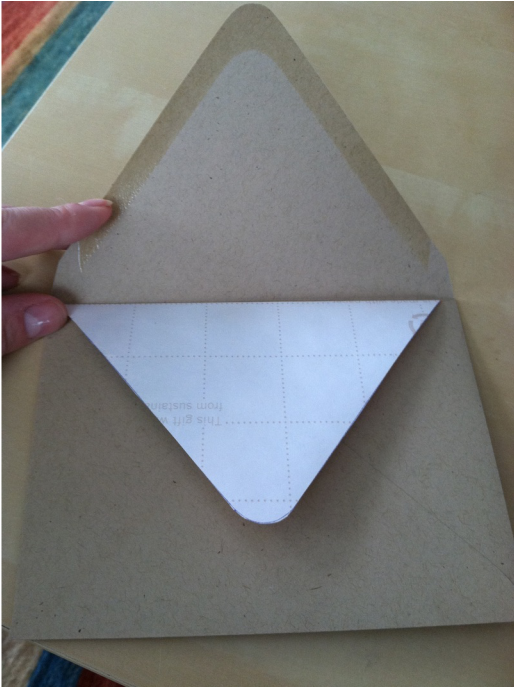
Once all the liners were cut, I started dropping them into the envelopes. I lined the template up right under the adhesive strip of the envelope, then using the flap of the envelope, carefully folded it over to make a hard crease.
At this point in the STD construction process, my b'maids officially learned I was totally crazy. / Personal photo
Finally, I used Scotch Permanent Double-Sided Roller Adhesive to adhere the top of the flap to the envelope. (TIP: To save some labor and tape, I only adhered the top half of the liner and left the bottom half free. I would avoid this if you have something that could possibly "catch" when your recipient opens the invite.)
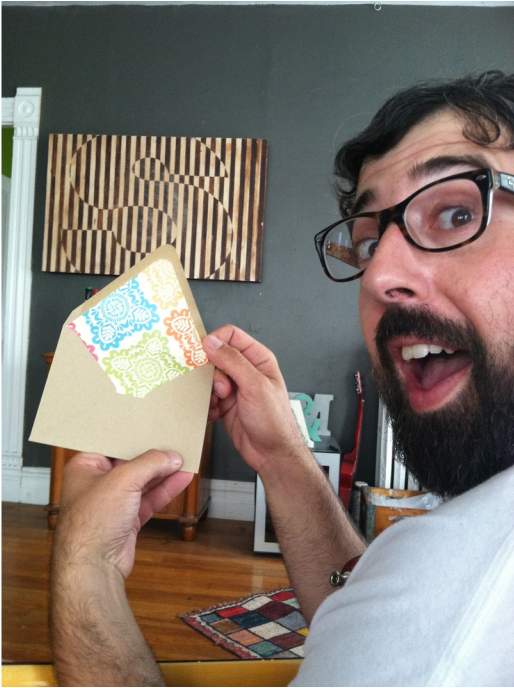
At this point, you can stuff your envelopes and send them on their merry way. Don't expect the phone calls to pour in to congratulate you on your amazing envelope liners (unless you're inviting a member of the hive!), but do expect to stage a photo of an excited "guest" opening their invitation/STD!!
At this point, you can stuff your envelopes and send them on their merry way. Don't expect the phone calls to pour in to congratulate you on your amazing envelope liners (unless you're inviting a member of the hive!), but do expect to stage a photo of an excited "guest" opening their invitation/STD!!
Mr. Jet is SO impressed by this little touch of whimsy!!
 RSS Feed