Hey, party people! Time to settle in for some more DIY madness! Today we're looking at etched wine glasses as wedding favors. Let's get started, shall we?
First, our supplies:
(all photos personal)
First, our supplies:
- Etching Cream
- Paper Towels
- A (clean) Wine Glass (no remnants of last night's Pinot, you guys!)
- A Pre-Cut Vinyl Stencil*
- Plastic Spoon (if the cream can etch glass, I'd rather not see what it could do to my silverware, amirite?)
- A Very Pointy Tool (to pick of the small stencil pieces once the glass has been etched)
- A Plastic Squeegee
(all photos personal)
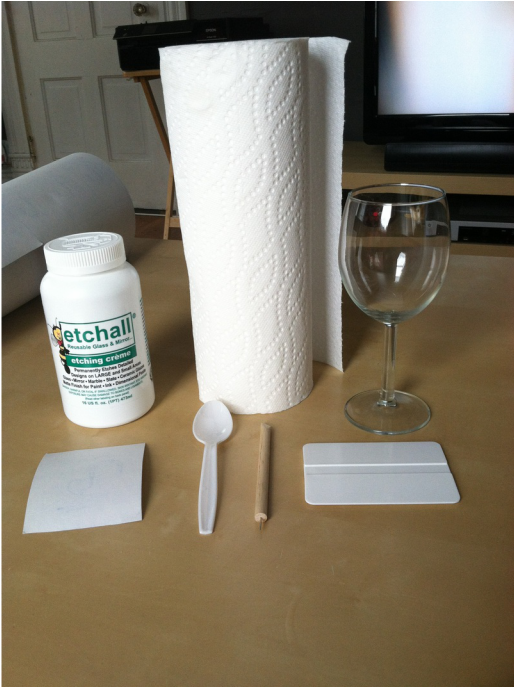
"The Supplies"
My first step, after cleaning and drying the glass, was to adhere the vinyl stencil to the glass. Mine have two adhesive sides (one to stick to the glass, and one holding the cut parts of the stencil together while you adhere it), so I made sure the rooster was facing the "right" way and applied it to the clean glass.
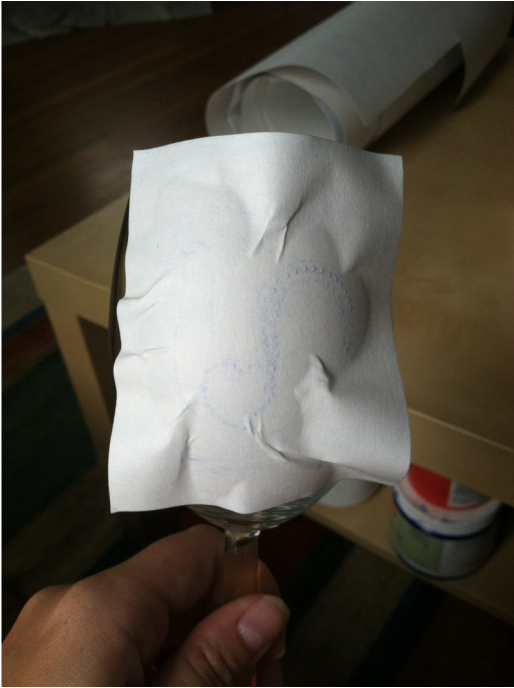
(TIP: This is the first, and certainly not the last, time the squeegee will come in handy. When applying to an uneven surface, make sure you work in the middle first, pushing all bubbles and creases as far away from the stencil bits as you can.)
Next, I removed the top layer of adhesive to reveal the actual vinyl stencil decal, making sure that none of the "negative" pieces came off with the top layer. You can use your pointy tool-thing here if needed.

Rooster head peeking through!
After pulling up the top layer, I carefully removed all of the stencil pieces that will be covered with the etching cream, leaving in place all of the pieces I wanted to remain clear glass.
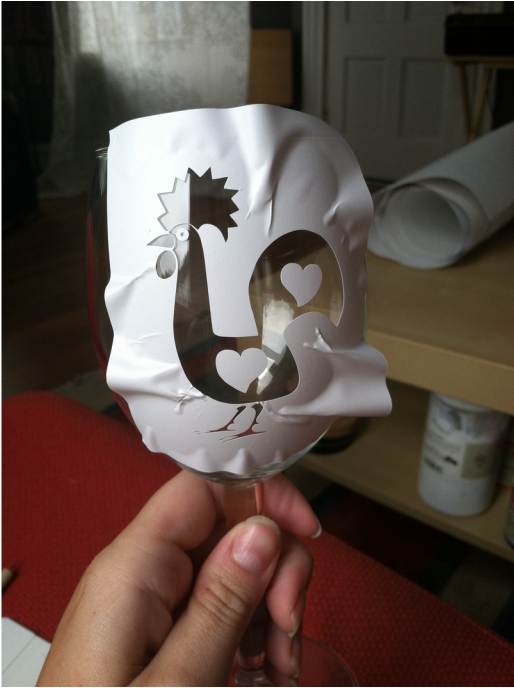
You should end up with something like this - all of the bits without a vinyl stencil covering will end up etched. (TIP: Use your squeegee tool again here to make sure there are no loose or lifting edges, otherwise the etching cream will leak underneath.)
Now, using your plastic spoon (and probably some gloves to ensure the cream does not make contact with your skin), you're going to glob (professional term) the etching cream anywhere where you've created this "negative" image.
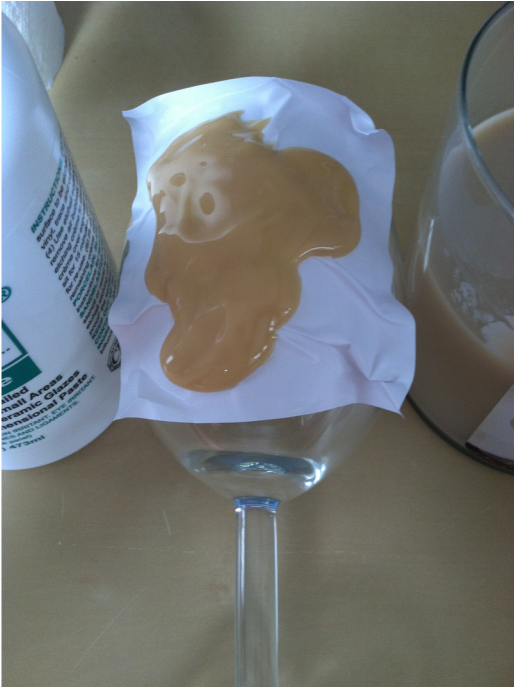
(TIP: anchor the wine glass between two heavier objects to prevent it from rolling around and smearing this crap all over your coffee table.)
After 15 minutes, you can squeegee (told ya it's useful!) the excess cream back into your bottle and rinse off the glass. Here, you'll use your little pointy tool-thing again to remove any remaining vinyl and once again wash and dry the glass.
If I've made any sense at all, you should end up with this...
If I've made any sense at all, you should end up with this...
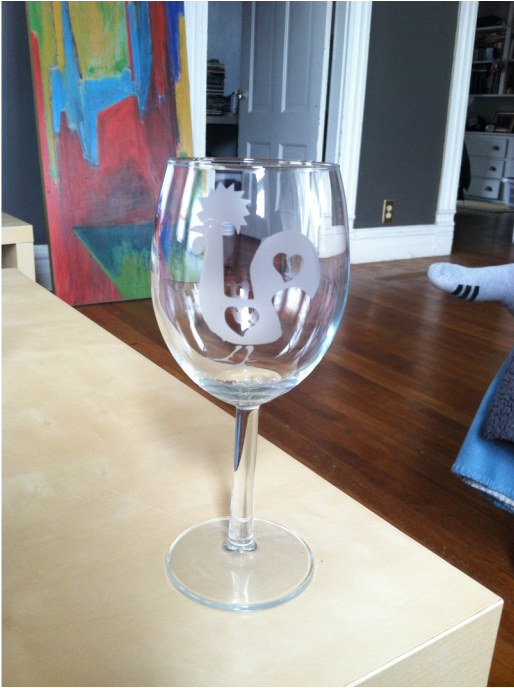
(TIP: try not to use an image with tons of little details (ours originally had several little dots around the hearts on the rooster), they are very time consuming and frankly just not worth it!)
I'm really excited about this project and hopeful that our guests will enjoy their new wine glasses! I avoided personalizing them too much so that people can use them more often without seeing an advertisement for "Mr. & Mrs. Jet" all the time!
*I worked with Matt Phillips from Art on Glass Designs to make my custom stencils and ending up buying the cream, squeegee, and pointy tool-thing from him as well. He was an absolute joy to work with, very helpful and prompt with replies as well as shipment. I highly recommend him to anyone wishing to try this out! He also has really useful tutorials on his Facebook page. P.S. I was not given anything in exchange for this glowing review, I just genuinely enjoyed the service and product I received!
*I worked with Matt Phillips from Art on Glass Designs to make my custom stencils and ending up buying the cream, squeegee, and pointy tool-thing from him as well. He was an absolute joy to work with, very helpful and prompt with replies as well as shipment. I highly recommend him to anyone wishing to try this out! He also has really useful tutorials on his Facebook page. P.S. I was not given anything in exchange for this glowing review, I just genuinely enjoyed the service and product I received!
 RSS Feed