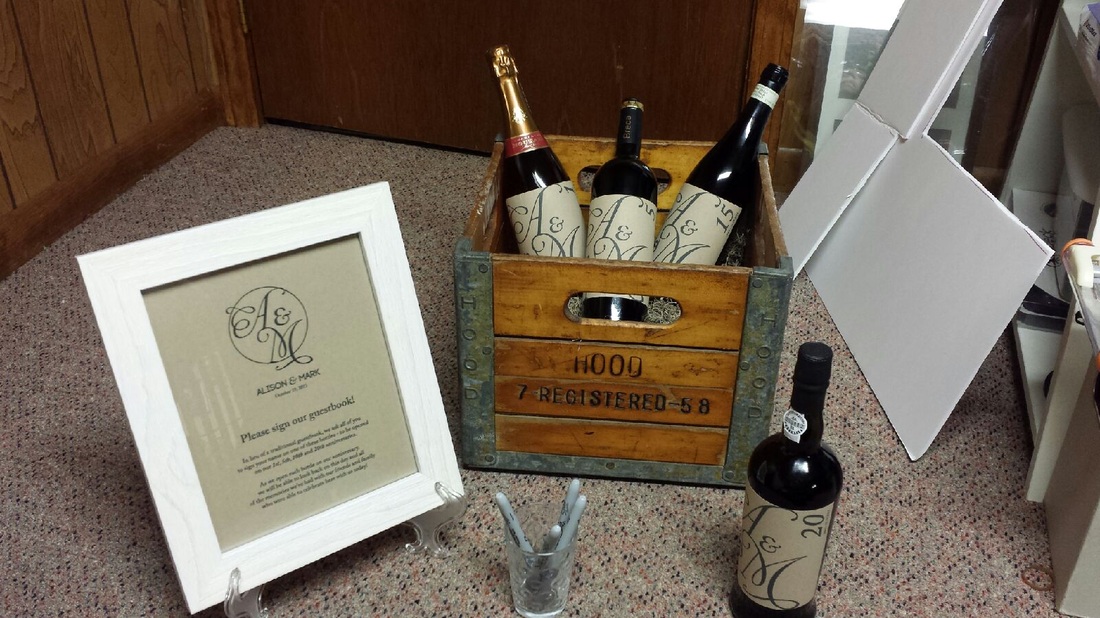
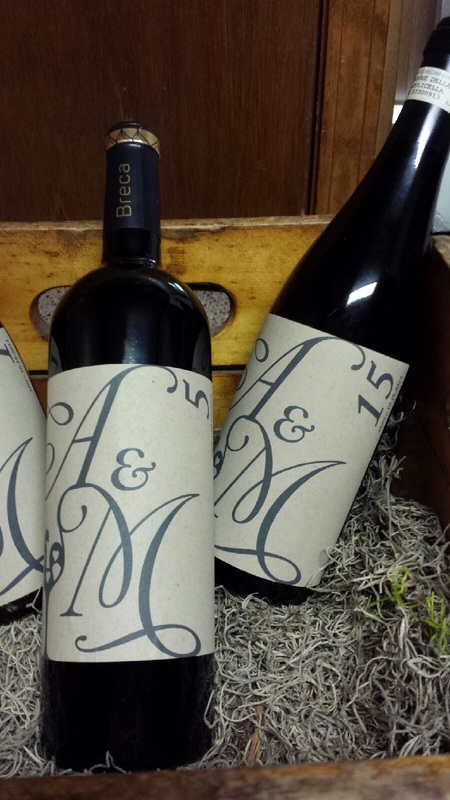
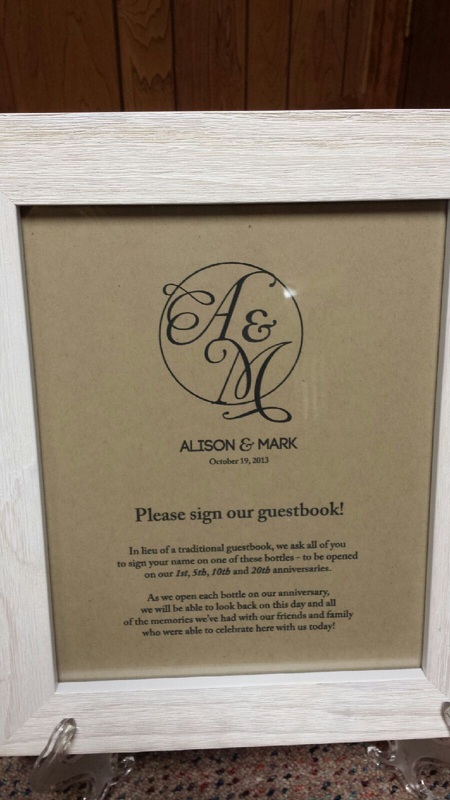
Tonight, I finished up our guest book! Need a refresher? Click here!I used a vintage milk crate I purchased at the Brimfield Fair back in May as our display piece and MOH J designed the labels and I printed them on Kraft 8.5" x 11" label paper. If you'll kindly disregard the foam core in the background, here's what our setup will look like, complete with Silver Sharpies for signing the bottles.
And some close-ups... Anyone else out there drinking their guest book?
Here I am, a mere 3 days before my wedding - churning out our final projects left and right while still finding time to watch my beloved Sox kick some American League ass!
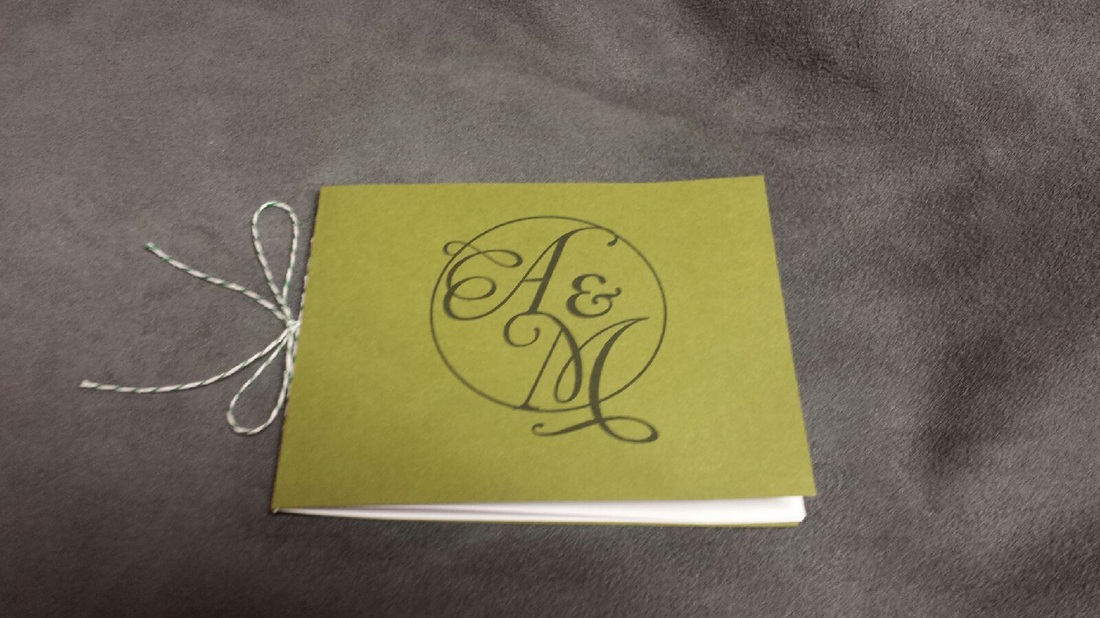
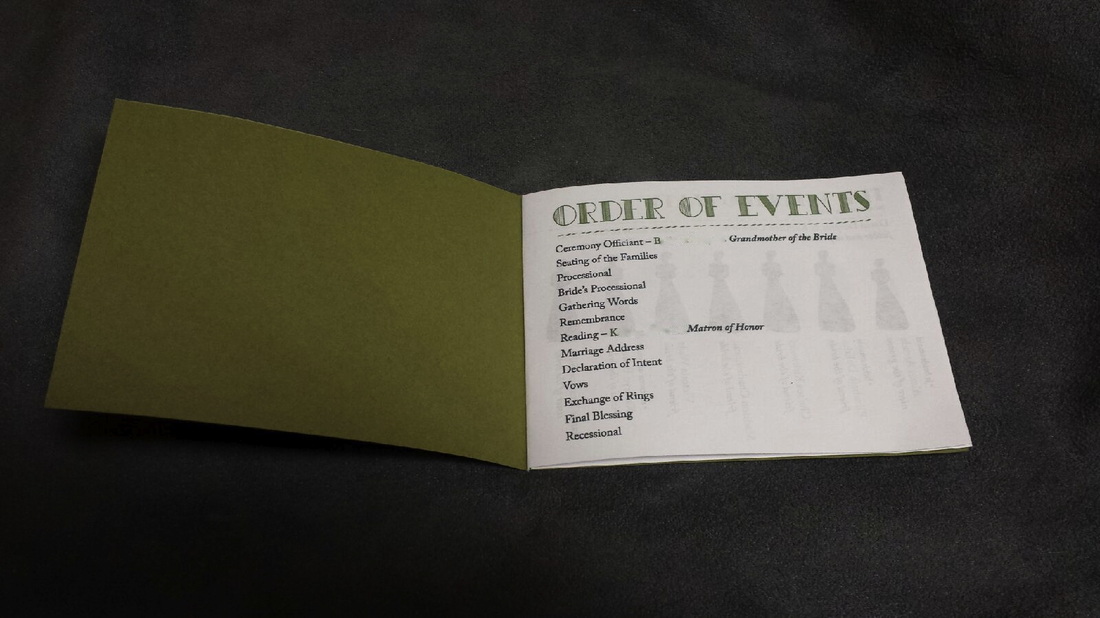
Last night, Mr. Jet and I sat until we were raw-fingered to finish up 140 of these: (all photos personal) We used Moss cardstock from Paper Source, my trusty baker's twine, and simple copy paper for the insert.
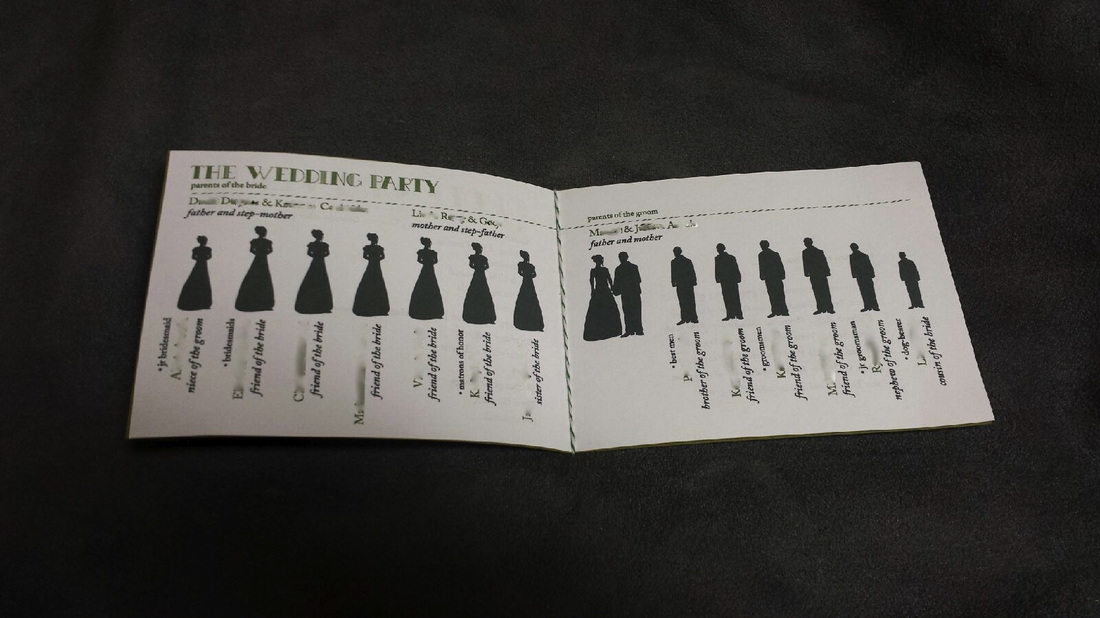
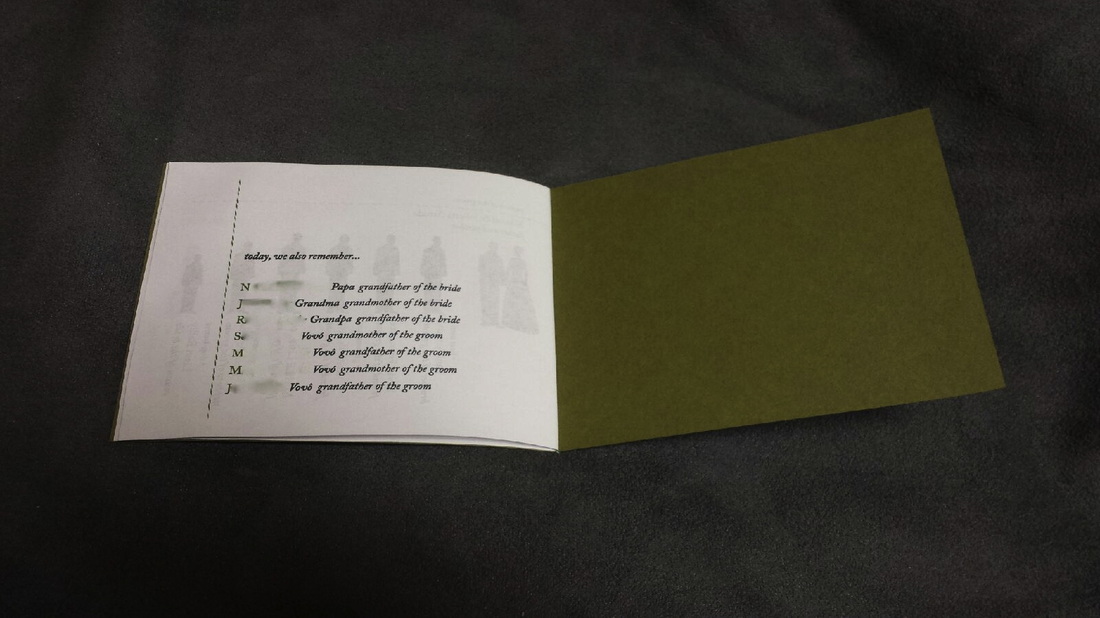
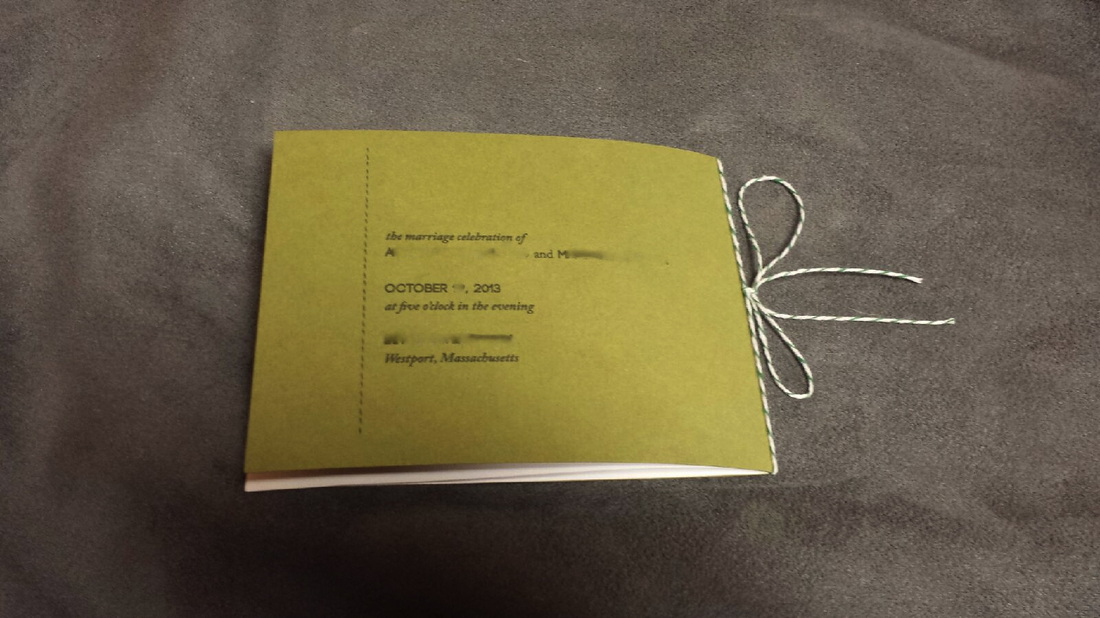
First, we had an Order of Events page outlining the processional/recessional and parts of the ceremony. The middle spread was reserved for our Wedding party complete with adorable silhouettes to denote our closest friends and family. Next, we dedicated a page to our loved ones who could not celebrate with us. Lastly, the back cover page simply lists information from our invitation for reference and commemoration. These programs were the last "big" project we had to do before W-Day so I'm really glad and relieved these are all done and packed up!
Are you planning on offering programs at your ceremony?
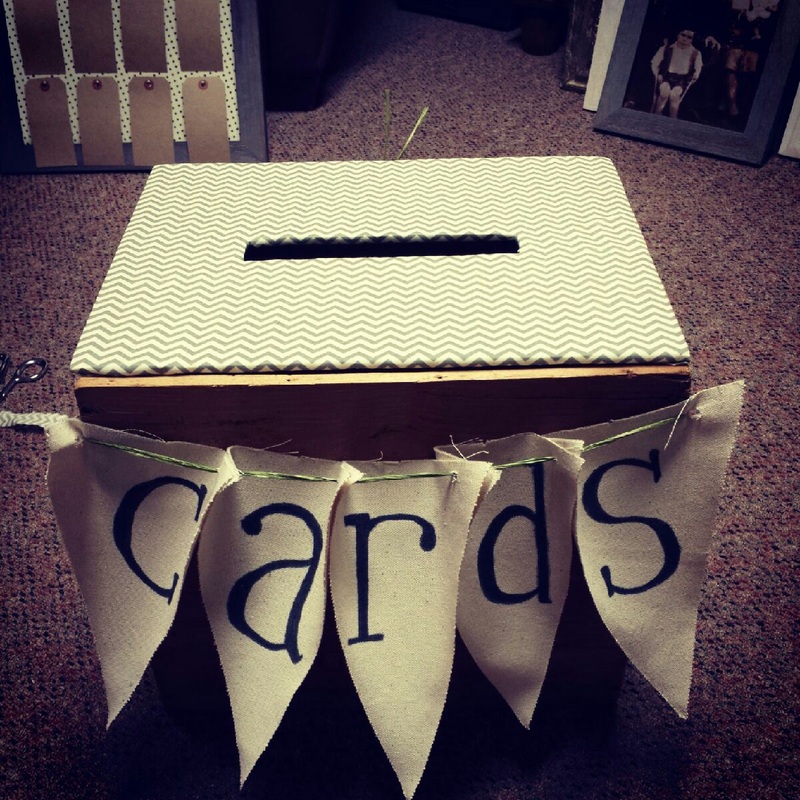
Another item checked off the Jet Setter To-Do List: Our card box! Daddy Jet found an awesome old mail crate at a yard sale last weekend so I crafted a top out of leftover foam core and fabric from my escort boards and used some burlap pennants (don't judge, I bought them at Paper Source) and green raffia so people know what's up.
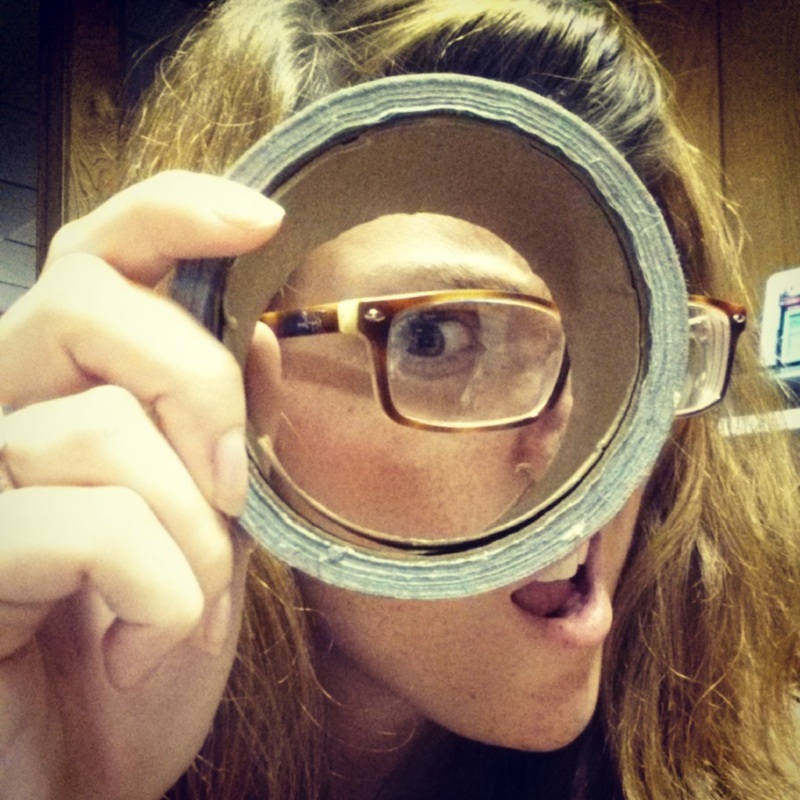
That's not the only reason I'm writing today, though. I'm here to chat about the ugly side of crafting. Sometimes a great-looking craft has a seedy underbelly that you don't even know about. While you may spend hours at Michaels, A.C. Moore, Joann Fabrics and Hobby Lobby looking for the perfect adhesive - sometimes there is nothing better than DUCT TAPE. It goes with nothing but fits perfectly on everything.
Here's my seedy underbelly: Straight duct tape, hive.
No regrets. What lives under your crafts, hive?
P.S. GO RED SOX!!! <3
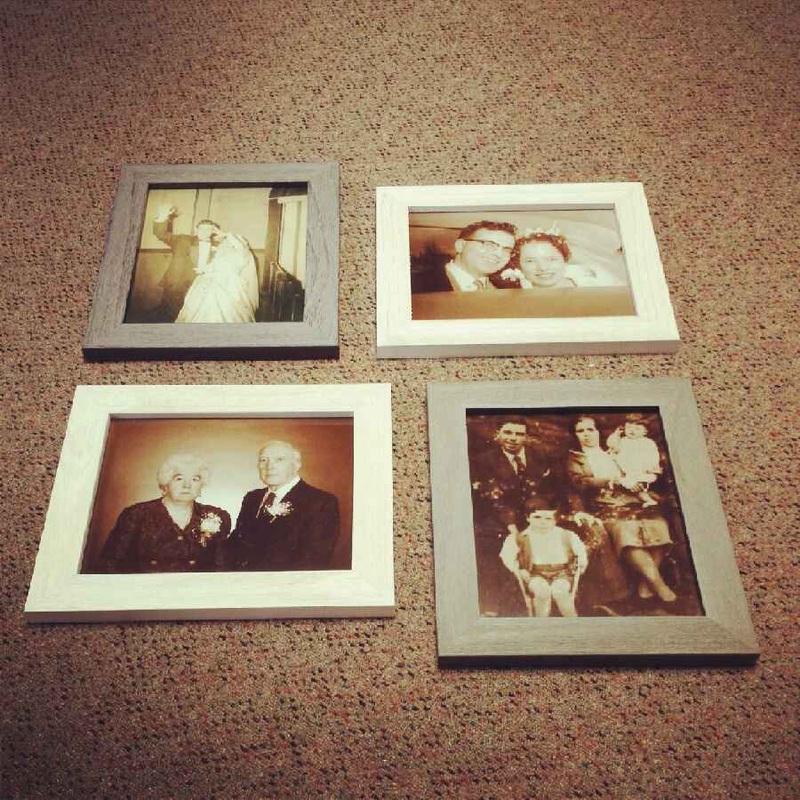
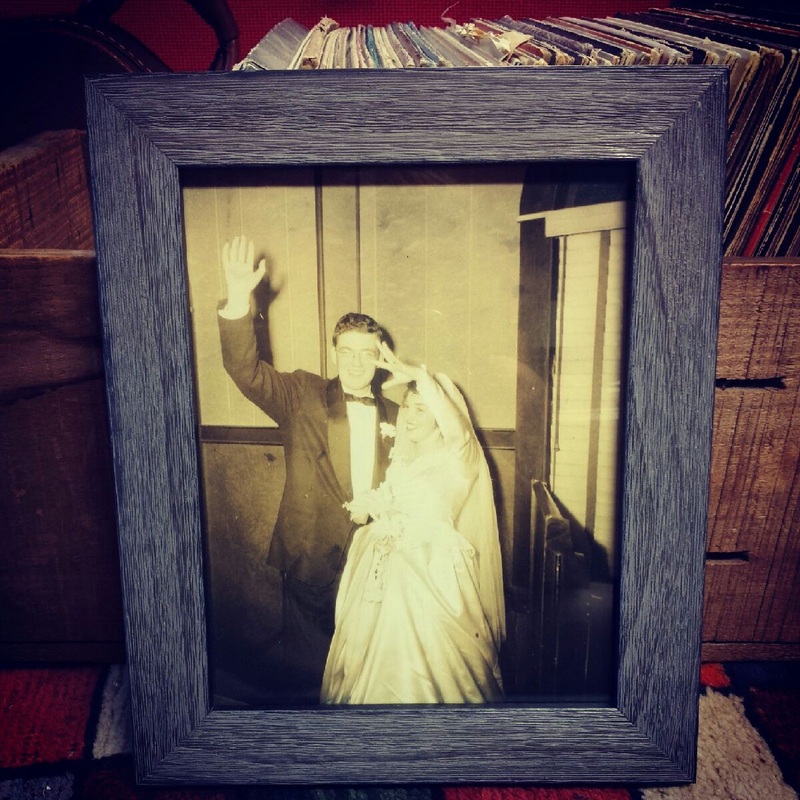
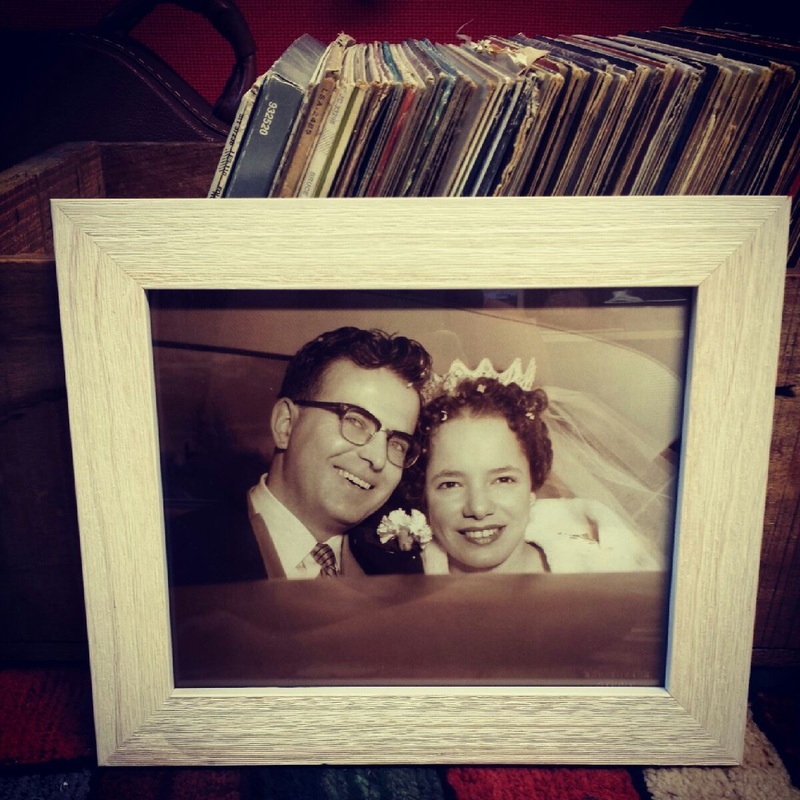
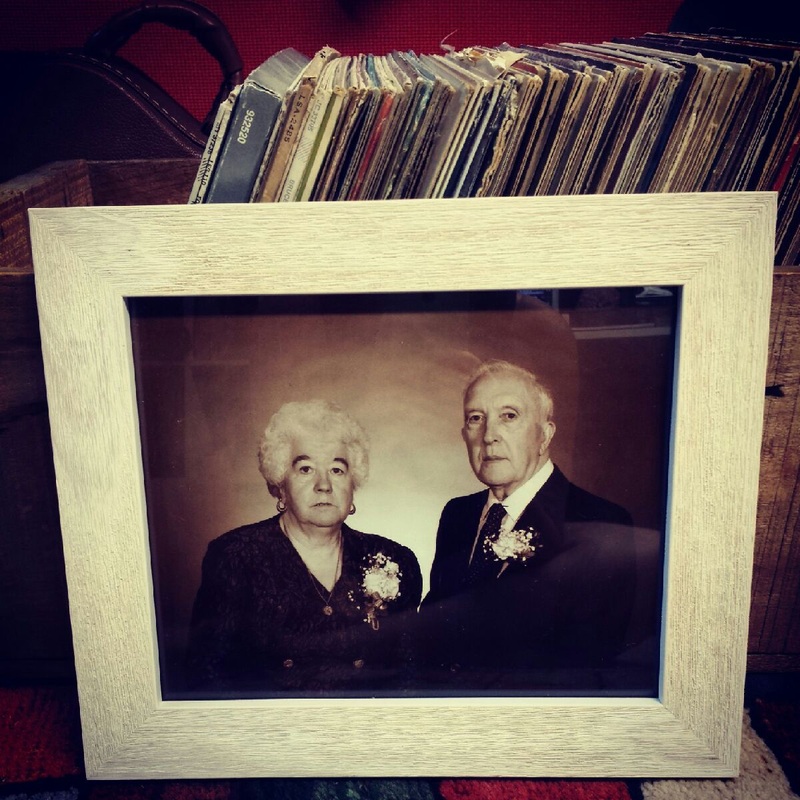
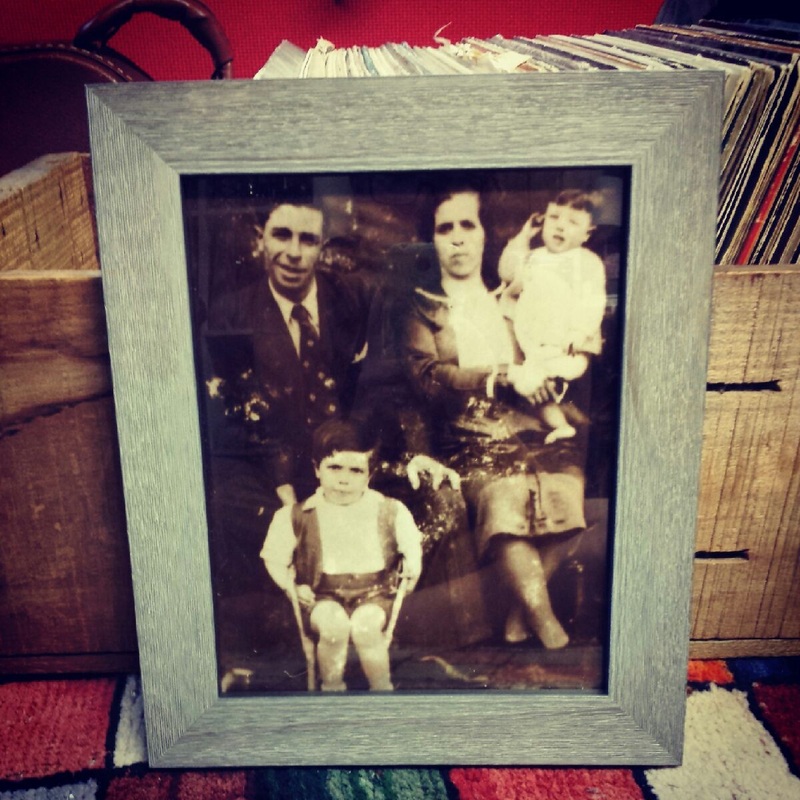
Mr. Jet and I both grew up in the same area, just a town apart, into close families who valued weekends, holidays and birthdays spent together. While Mr. Jet's paternal grandparents both died before he was born, he has great memories of his Avô and Avó (Portuguese for grandfather and grandmother) while growing up. I grew up in the same town as my paternal grandparents, affectionately known as "Nana" and "Papa". In case you haven't been following along, Nana is actually performing our ceremony! We spent many a Sunday dinner at their house eating mashed turnip and carrot mixed (one of my fave vegetables!) and looking at old photos and doing table puzzles. My maternal grandparents lived just two towns away (which felt like MILES when I was young!) and I spent so many weekends cooking and gossiping about neighbors with "Grandma Reilly" and watching Red Sox games with "Grandpa Reilly". Since Nana is our only living grandparent between the two of us, it was really important to honor our deceased grandparents in a special way. In addition to adding their names to a section of the program, we also collected some photos of them to display at our venue with a candle lit in their memory. Without further ado, the Jet Setter Family Tree! (personal photos) Here are my maternal grandparents - Grandma and Grandpa Reilly - on their wedding day. Recognize the dress? My paternal grandparents - Papa and Nana - also on their wedding day. I would do ANYTHING for those glasses, Papa. You were so far ahead of your time! Mr. Jet's maternal grandparents. I was lucky enough to meet Mr. Jet's grandmother a few years ago when she visited from Florida. She was quite the firecracker at nearly 90 years old! She grabbed my butt and told Mr. Jet's mother (in Portuguese) that she liked my shape - good for making babies. Mr. Jet's paternal grandparents - who died in Portugal before Mr. Jet was born - with a special baby appearance by Mr. Jet's dad and uncle!
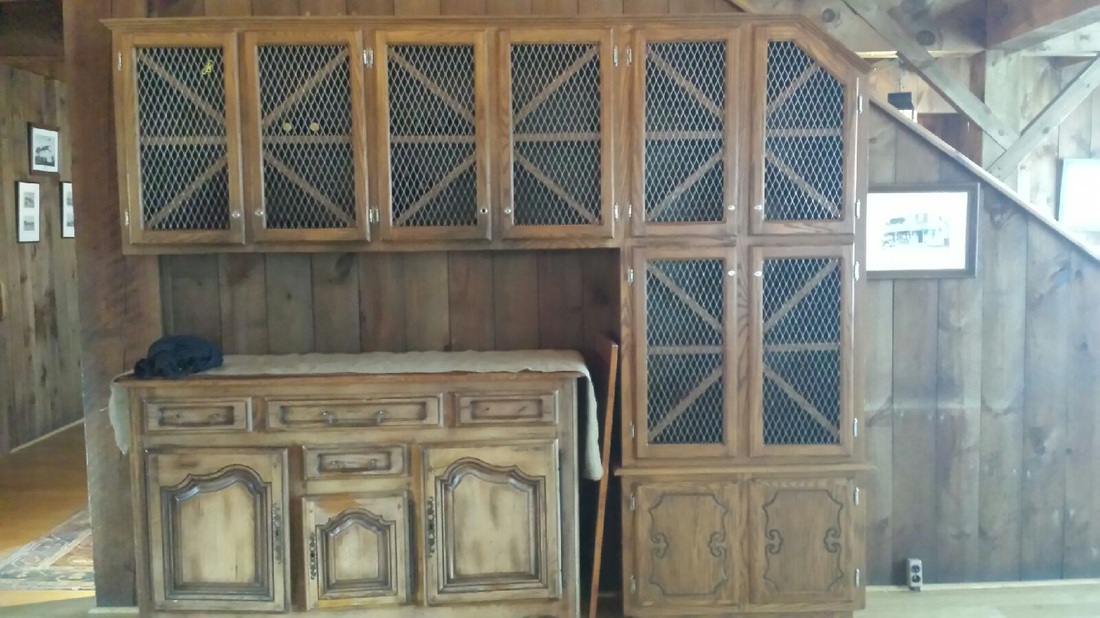
We had our final walk-through of the venue last week and think we found the perfect place to display these: The sideboard here will be housing a beverage station so I'm thinking we hang one photo on each set of unused) cabinets.
Did you honor any relatives who are no longer with us?
Escort cards are an annoying, yet critical part of wedding planning. While we briefly (I mean, briefly) toyed with the idea of open seating, I soon said to myself, "Miss Jet...do you really trust that people will evenly distribute themselves throughout this venue in such a casual way that they just so happen to sit with precisely the right number of family members/friends/colleagues?"
Miss Jet quickly responded, "Oh, hell no."
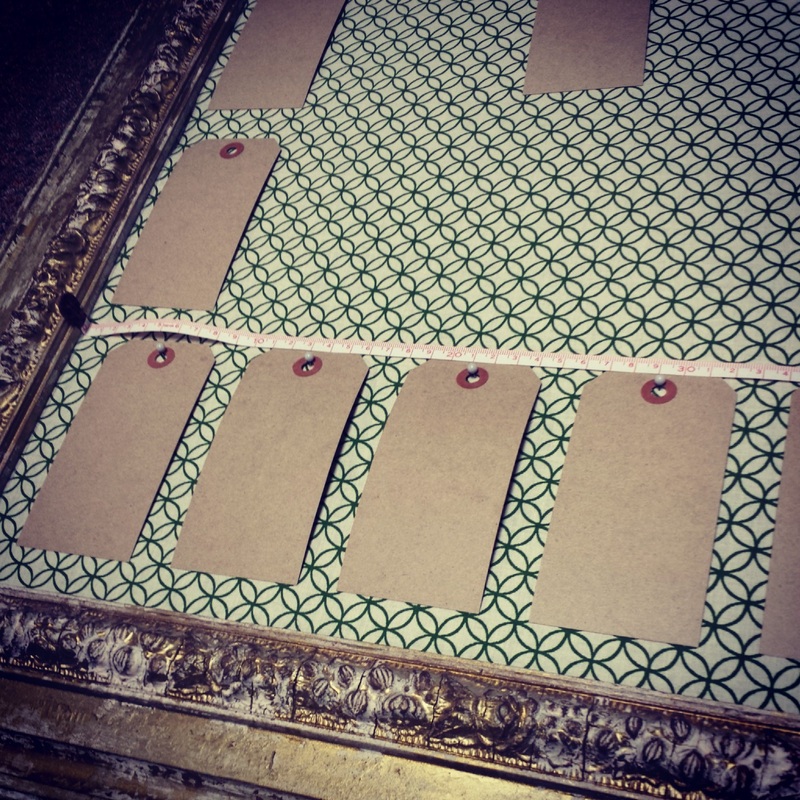
Thus was born the need for escort cards. I wanted to avoid the old tent-card-on-a-table standby and visited my trusty frenemy, Pinterest, for inspiration and fell in love with the hand-written shipping tags on a framed board:
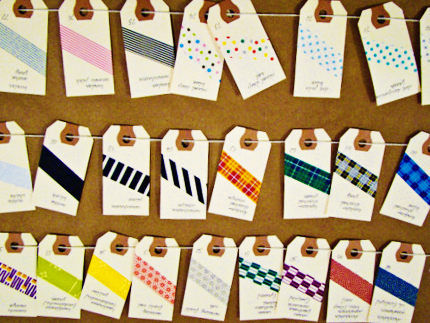
These are wrapped with washi tape too - such an inexpensive and cute idea! / Image via I Do It Yourself I quickly mentioned the finished board here, but I wanted to get the board pre-tacked as I wait for my wonderful sis, MOH J, to hand-write all of escort tags. I have to briefly interrupt this post to share something personal. I have a confession to make, hive. As crafty as some of you may believe me to be - I have a dirty, little secret. I'm left-handed.::whew:: So glad that's off my chest. I'm a calligrapher's NIGHTMARE, you guys. My handwriting is that of an old man. I write in all caps. I smudge absolutely everything I write. And there was NO WAY in hell I would ever trust myself to hand-write my escort tags - so big ups to MOH J AGAIN for coming through on this one. Like I was saying, as I wait for the finished tags to roll in, I decided to pre-pin the board so that the finished tags can just be slipped on upon arrival. I wish I could be okay with the Pinterest-y, non-chalant, seemingly haphazard look shown above, but I am just way to anal for that shizz... Yes, I hand-spaced every tag. Yes, I'm crazy. Yes, I'm okay with it. Yes, the rest of these photos are personal.
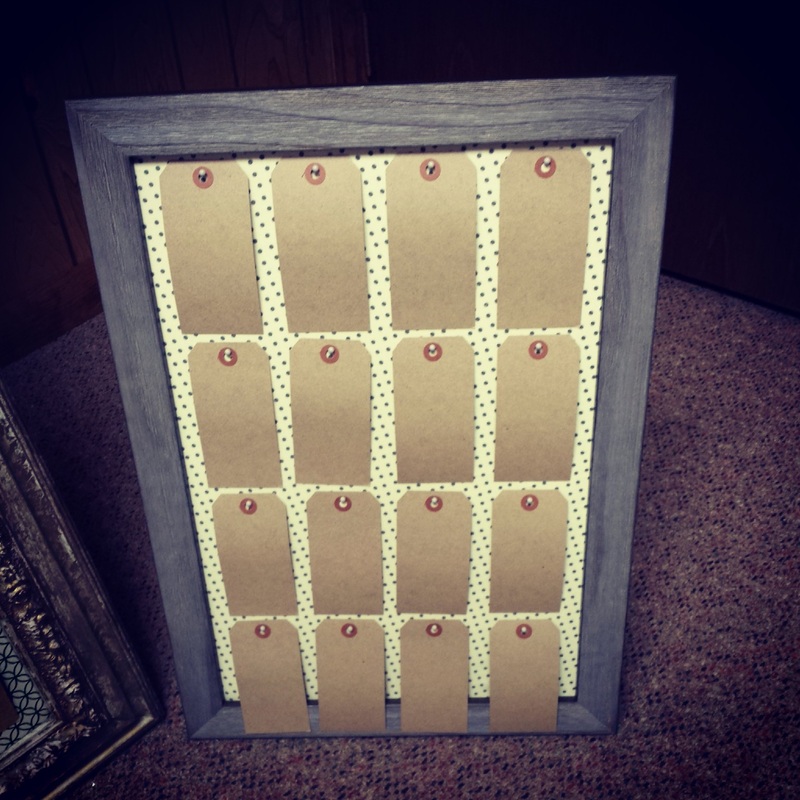
We did end up with more tags than room on the board, so I created two-smaller contrasting boards with different fabric to sit alongside the larger frame. It will definitely add some visual interest and depth to our escort table - so all's well that ends well!
And here are the finished boards! Here's the large board that now houses 44 of our 76 tags. Here is the smaller board which will hold 16 each of the remaining 32 tags.
How are you doing your escort cards? I'd love to see!
Well, not really holding hands - but tiny and definitely happy!
With less than two weeks until W-Day, Mr. Jet and I have been churning out projects left and right. Tonight, we finally finished our cake topper.
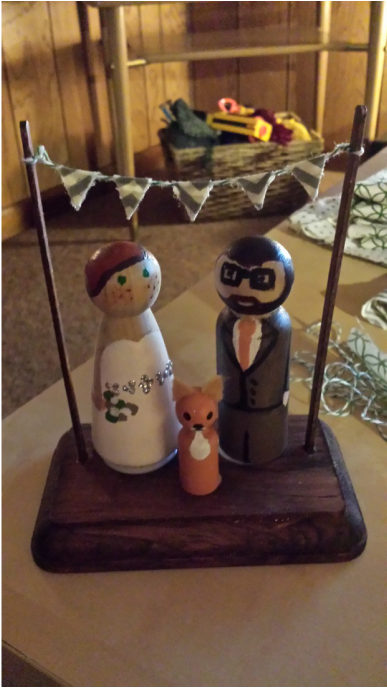
Personal Photo
We stained the base and dowel with a medium red mahogany stain and Mr. Jet painted our little family all dressed up! I used some of our leftover fabric and twine to create the mini bunting up over our heads. This seemingly simple item on our to-do list took some time and serious effort, but I'm so happy with how it turned out. Can't wait to see our mini-mes atop our delicious cake!
Did you DIY your cake topper?
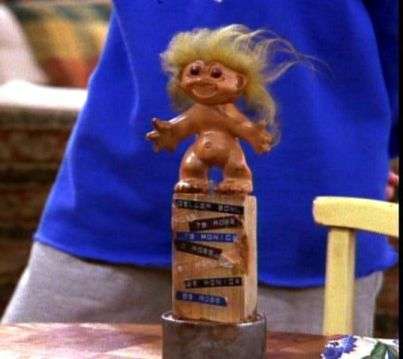
I'm always a sucker for a good-looking centerpiece. Combine that with my need to win every single competition (even when I'm apparently the only one competing...) "Is everyone else seeing a troll doll nailed to a 2x4?"
...and you have my aching need to create the ULTIMATE CENTERPIECE GIVE-A-WAY!!!! (did you hear Oprah in your head just now? Good.)
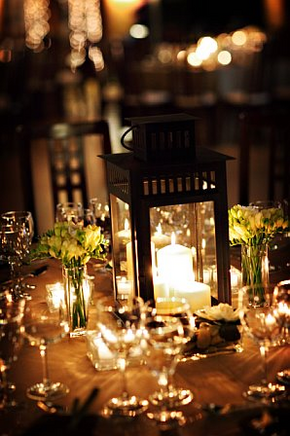
Since I've failed to show you my centerpiece inspiration up until now, I'll save you anymore waiting: Ta-da! Not the most original idea out there these days, I know - but it ties in our modern-meets-rustic theme really nicely. And since our venue is pretty warm and decorated in its own right, I wanted something simple, clean and romantic that won't overwhelm the natural atmosphere of the room. We bought these Ikea lanterns on a quick trip to our local Ikea eons ago and they've been taking up space at my future in-laws' house ever since. While at first I didn't see the problem in storing 30 tin lanterns for the short-term, I eventually realized I didn't want to store 30 tin lanterns for the long-term. I researched some centerpiece giveaway ideas to try and spice up this old tradition. Just think, if you're 25 years old right now and attend (on average) 3 weddings every year, by the time you're 60 - you'll have attended 105 weddings! There are only so many times you'll be willing to "check under your chair" for a gold star.
Here are some of the giveaway ideas I liked:
- THE RSVP REWARD: In this scenario, you keep track of all of your incoming RSVPs and as you work on your seating chart, you preemptively award the centerpiece to the first among the table to send in their response. (I'd win that shiz all day, every day. I'm crazy prompt.)
- THE BIRTHDAY GIRL & BOY: The DJ will announce that the person at every odd numbered table whose birthday is closest to the groom's birthday wins the centerpiece. The guest at each even numbered table whose birthday is closest to the bride's will win as well.
- THE DOLLAR BILL, YO: The DJ asks one person at every table to take out a dollar and proceeds to play a quick "pass the buck" game. When the music stops, the person holding the dollar is told to put it in their pocket and the person who supplied the dollar has just "bought" the centerpiece.
- THE FREE-FOR-ALL: The DJ announces near the end of the night that the centerpieces are for the taking and it's first come, first served until they're gone!
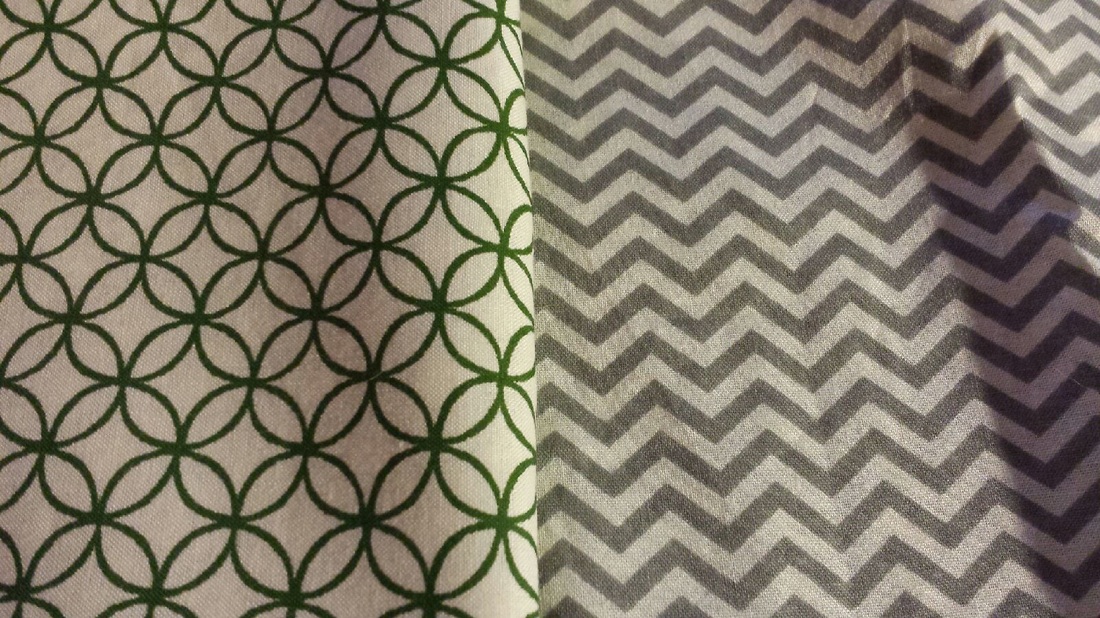
After hitting up my local Joann Fabric last weekend - I found some super cute modern fabrics in our wedding colors: (all photos below personal) My original vision for the wedding was "modern-rustic" and I felt like I was losing sight of the modern part and going a little too rustic. When I found these fabrics though, I put them to quick work into our cardboard monogram letters and our escort card board.
Ahhhh, doesn't it feel SO GOOD to cross out items on your to-do list?!
Here's our escort card board:
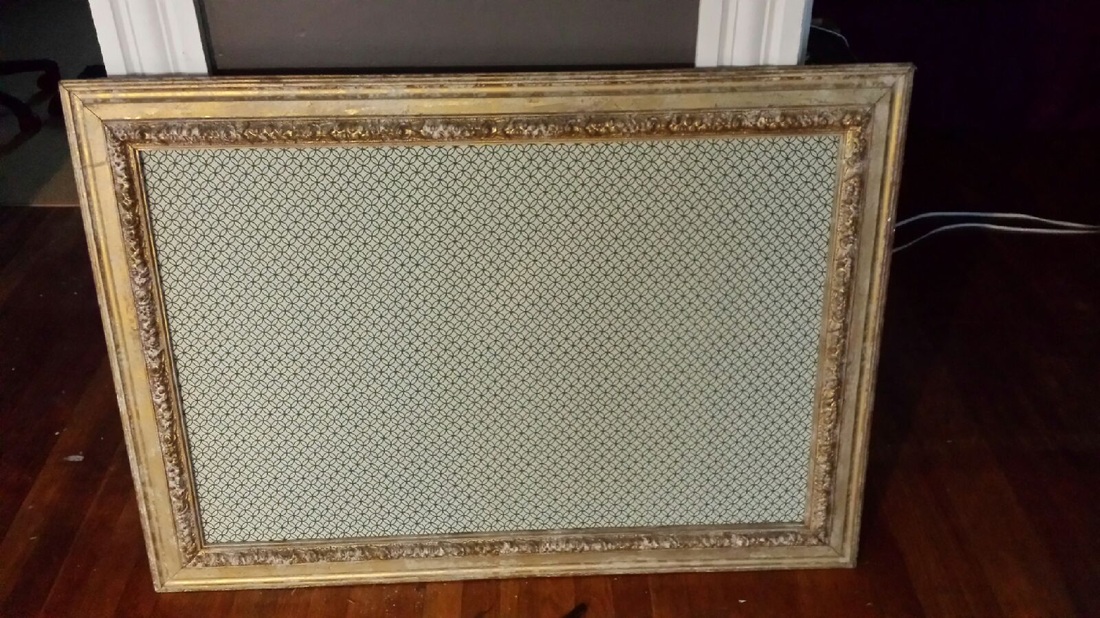
The frame we've had since we moved into this apartment - it's been collecting cobwebs for 5 years, but I knew it had a purpose! I "upholstered" a trimmed Elmer's foam board with the Green/Ivory fabric and wedged it into the frame's lip. MOH J will be hand-writing (I am left-handed and cannot be trusted with such things) everyone's names and table numbers onto kraft colored shipping tags. They'll be pinned to the board for easy grabbing.
And my current most favorite thing ever...a set of our monogram letters!
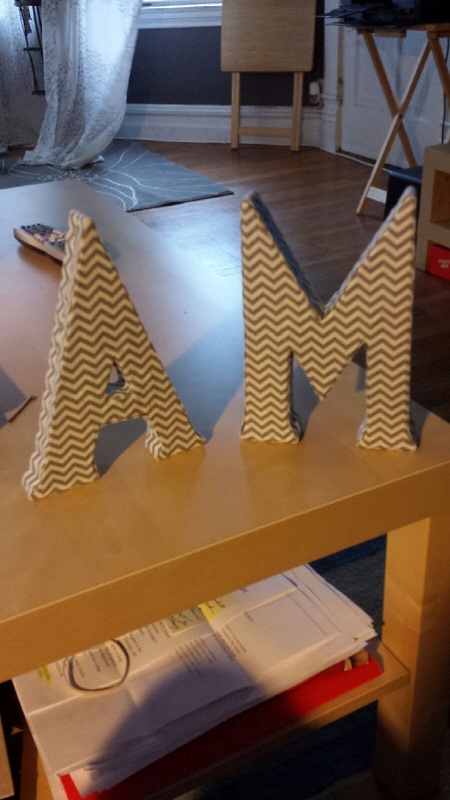
I take NO credit for these, sadly! I bought the cardboard letters from Paper Source and gave some serious puppy dog eyes to some of my favorite ladies at work - the ladies who construct all of our handbag samples! They are phenomenal and I knew if they could do what they do with leather handbags, this would be a total breeze. They delivered and then some!
We're now under the two month mark and checking these little items off my list is absolutely euphoric! RSVPS are now 50% in, my first dress alteration fitting went well and we're going for our marriage license tomorrow - things are really moving along for the Jets!
How's everyone else doing with their planning? Get some great stuff checked off your lists lately?
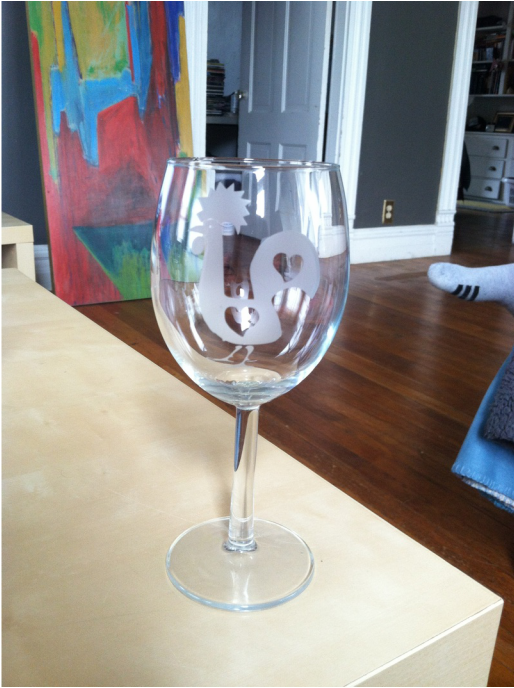
Hey, party people! Time to settle in for some more DIY madness! Today we're looking at etched wine glasses as wedding favors. Let's get started, shall we? First, our supplies: - Etching Cream
- Paper Towels
- A (clean) Wine Glass (no remnants of last night's Pinot, you guys!)
- A Pre-Cut Vinyl Stencil*
- Plastic Spoon (if the cream can etch glass, I'd rather not see what it could do to my silverware, amirite?)
- A Very Pointy Tool (to pick of the small stencil pieces once the glass has been etched)
- A Plastic Squeegee
(all photos personal) 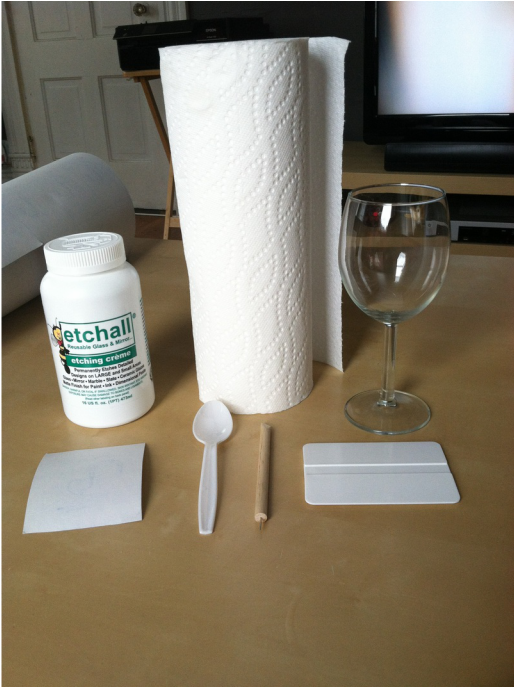 "The Supplies" My first step, after cleaning and drying the glass, was to adhere the vinyl stencil to the glass. Mine have two adhesive sides (one to stick to the glass, and one holding the cut parts of the stencil together while you adhere it), so I made sure the rooster was facing the "right" way and applied it to the clean glass. 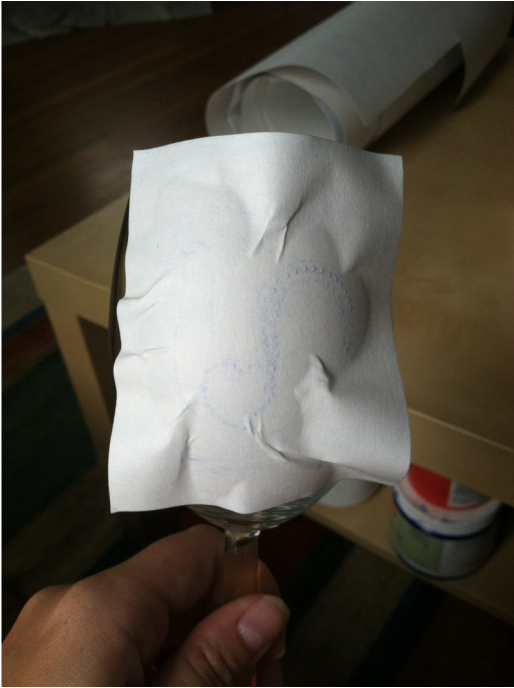 (TIP: This is the first, and certainly not the last, time the squeegee will come in handy. When applying to an uneven surface, make sure you work in the middle first, pushing all bubbles and creases as far away from the stencil bits as you can.) Next, I removed the top layer of adhesive to reveal the actual vinyl stencil decal, making sure that none of the "negative" pieces came off with the top layer. You can use your pointy tool-thing here if needed.  Rooster head peeking through! After pulling up the top layer, I carefully removed all of the stencil pieces that will be covered with the etching cream, leaving in place all of the pieces I wanted to remain clear glass. 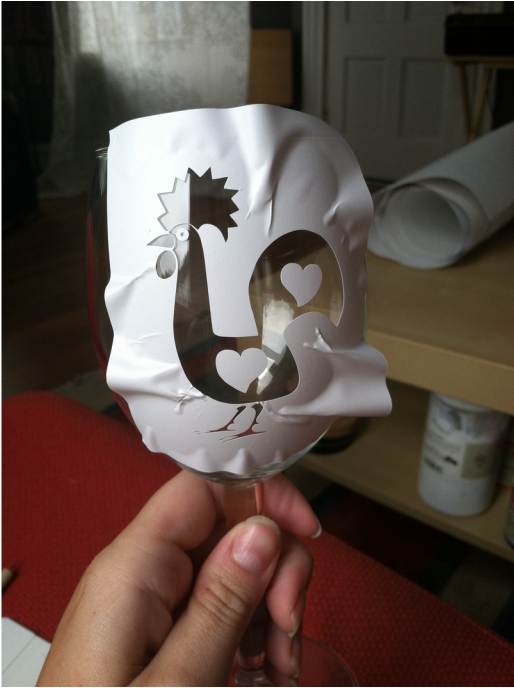 You should end up with something like this - all of the bits without a vinyl stencil covering will end up etched. (TIP: Use your squeegee tool again here to make sure there are no loose or lifting edges, otherwise the etching cream will leak underneath.) Now, using your plastic spoon (and probably some gloves to ensure the cream does not make contact with your skin), you're going to glob (professional term) the etching cream anywhere where you've created this "negative" image. 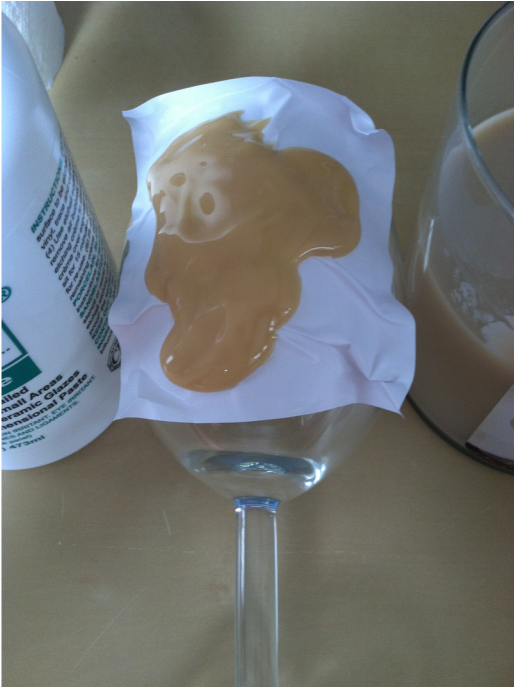 (TIP: anchor the wine glass between two heavier objects to prevent it from rolling around and smearing this crap all over your coffee table.) After 15 minutes, you can squeegee (told ya it's useful!) the excess cream back into your bottle and rinse off the glass. Here, you'll use your little pointy tool-thing again to remove any remaining vinyl and once again wash and dry the glass.
If I've made any sense at all, you should end up with this...  (TIP: try not to use an image with tons of little details (ours originally had several little dots around the hearts on the rooster), they are very time consuming and frankly just not worth it!) I'm really excited about this project and hopeful that our guests will enjoy their new wine glasses! I avoided personalizing them too much so that people can use them more often without seeing an advertisement for "Mr. & Mrs. Jet" all the time! *I worked with Matt Phillips from Art on Glass Designs to make my custom stencils and ending up buying the cream, squeegee, and pointy tool-thing from him as well. He was an absolute joy to work with, very helpful and prompt with replies as well as shipment. I highly recommend him to anyone wishing to try this out! He also has really useful tutorials on his Facebook page. P.S. I was not given anything in exchange for this glowing review, I just genuinely enjoyed the service and product I received!
When it came to choosing favors for our wedding, Mr. Jet and I went through a BUNCH of ideas...
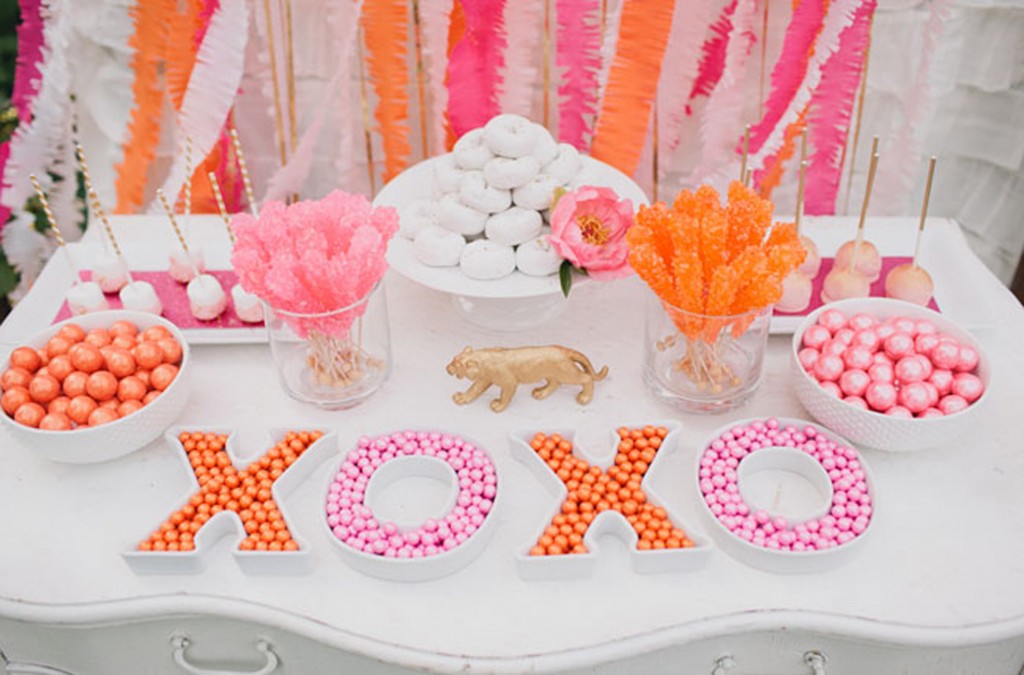
The ever-popular candy buffet? / Image via Mazel Moments
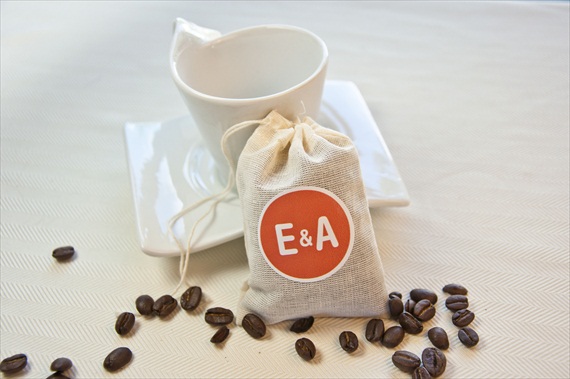
Espresso or coffee beans? / Image via Emmaline Bride
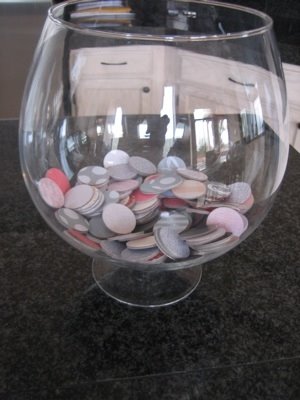
Mrs. Lovebug's Charity Chips idea? / Image via Weddingbee We went through many iterations of the above ideas and several more before finally realizing, "Hey, our wedding has a vague wine theme - how about customized wine glasses?"
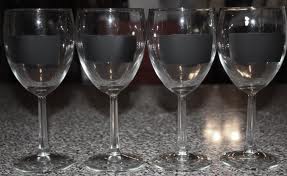
Chalkboard wine glasses, boom! / Image via Christy Robbins We set out to our local Ikea to purchase 166 wine glasses (yeah, we got some "looks" as we cleared out the entire section). But they were only $4.79 for 6 glasses, looks be damned - I'd do it again in a heartbeat! I also purchased some chalkboard paint and painter's tape and got to work - on my very first wedding fail. No matter whose instruction I followed, or which type of paint I used - I could NOT GET THESE DAMN THINGS TO LOOK RIGHT. I took no photos of this shameful, shameful time in my life. Moving on. When MOH J's Bestie, Kim entered the picture as another satellite graphic artist, she created a vector image of our little Portuguese rooster that I absolutely fell in love with. I've been trying to find ways to incorporate the little guy other than just our paper suite. It it me one day while I was "working" - OMG ETCH THE GLASSES WITH THE PORTUGUESE ROOSTER! Next up, I'll show you how this: (photos below personal) Became this:
|


 RSS Feed